You can create a video with images by arranging photos on a timeline, adding motion, music, text, and transitions, then exporting the result as an MP4 for the platform where you plan to share it.
The best method depends on your source material. A collection of event photos usually works best as a slideshow, while one strong still image can become a short animated clip through image to video AI. Combining both approaches gives you more flexible, engaging video content.
A photo video does not need complicated video editing to feel professional. It needs a clear sequence, consistent visual pacing, readable text, and audio that supports rather than overwhelms the images.
Image to video turns still images into moving scenes
You can generate a video from images by uploading a still image to an AI tool, describing the desired movement, selecting a model, and generating a short clip. Image to video works especially well when a single photo needs camera movement, subtle environmental motion, or a cinematic moment rather than a static hold.
Unlike a traditional slideshow, AI image to video animates the visual content inside the frame. A portrait can gain a slow camera push-in, a product image can show controlled rotation, or a landscape can include moving clouds and water. The result is not simply a photo placed in a video timeline; it is a newly generated moving interpretation of that image.
Start with an image that gives AI clear visual information
An AI video generator turns a still image into motion more reliably when the subject, lighting, and background are easy to identify. Use a high-resolution image with a clear focal point and avoid heavily compressed screenshots when possible.
Before you upload, check these details:
- Keep the main subject large enough to remain recognizable during motion.
- Use images with clean edges around people, products, or objects.
- Avoid text baked into the image if it must stay perfectly legible.
- Choose a composition that suits your final aspect ratio: vertical for TikTok and Reels, horizontal for YouTube, or square for some social media posts.
- Use an AI-generated image you own or have permission to use, especially for commercial work.
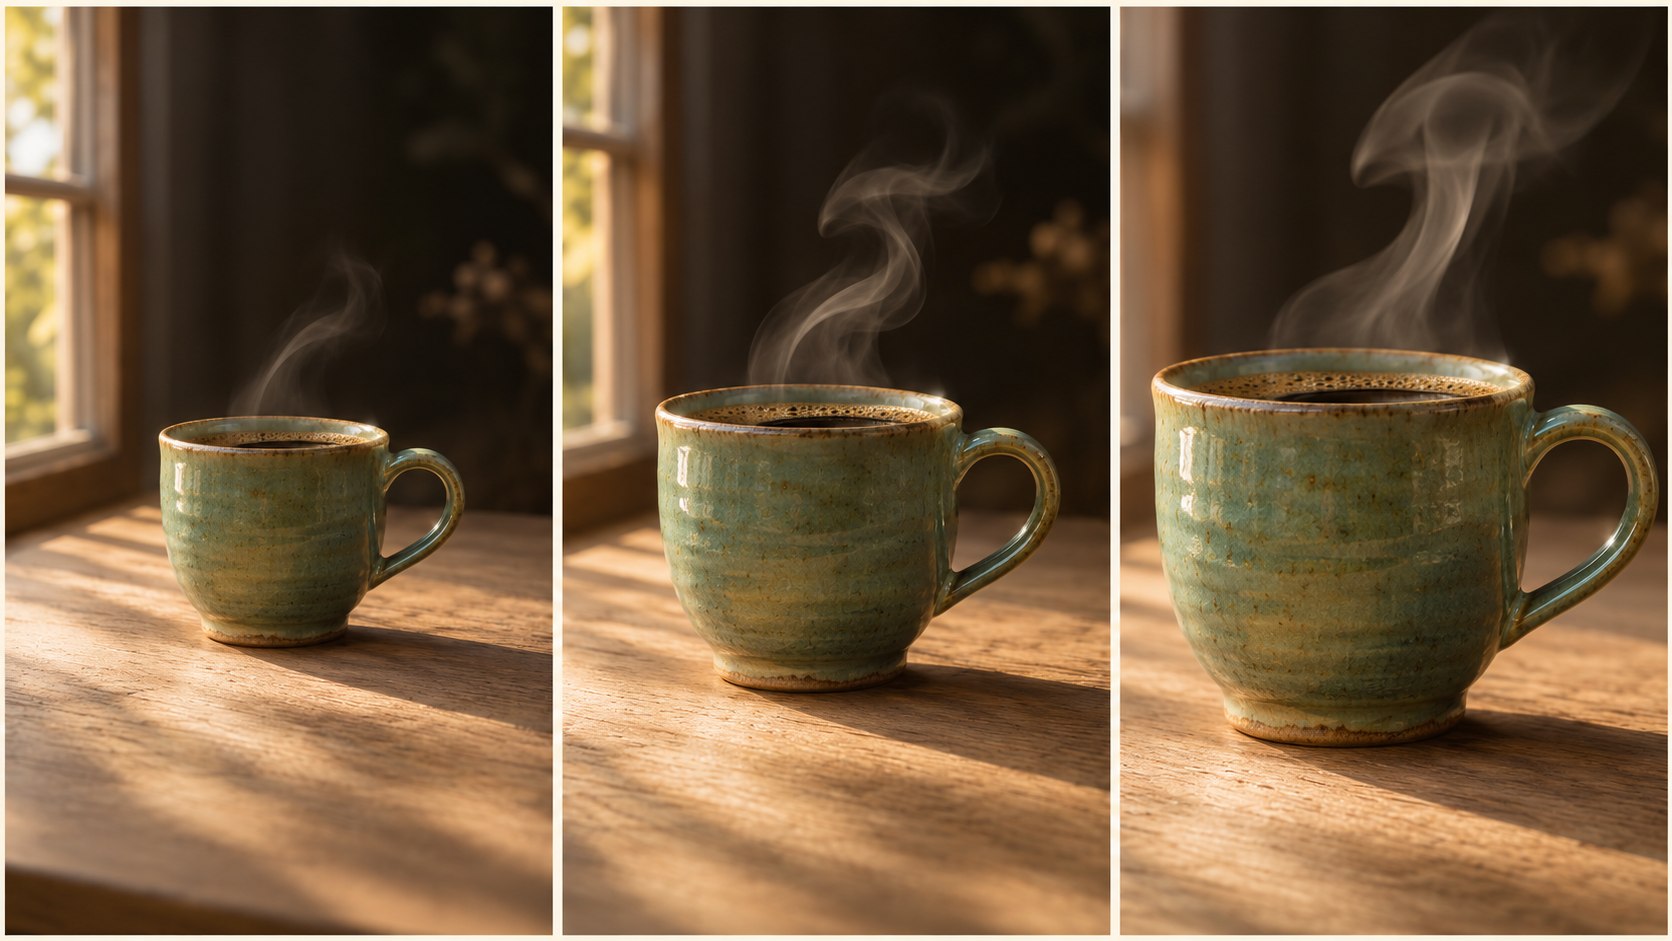
A useful prompt describes both movement and restraint. For example: “Slow cinematic dolly toward the ceramic cup, steam rising naturally, warm morning light, stable product shape.” This gives the model a subject, motion direction, atmosphere, and constraints.
Choose motion that serves the image
The strongest AI video clips usually have one intentional action. Ask for a slow zoom, gentle pan, fabric moving in wind, a person looking toward camera, or steam drifting upward. Asking for multiple major actions in a short generation often creates unstable results.
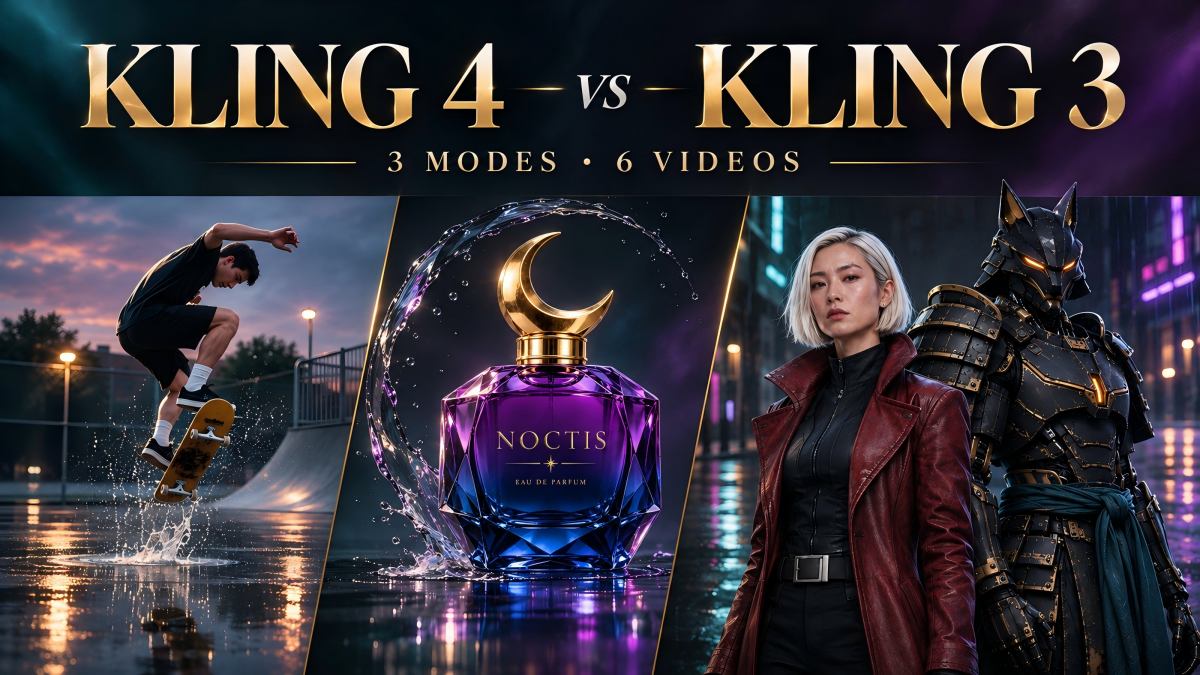
PixExact supports multiple current video and image models, which is useful when one model handles a particular visual style or motion type better than another. When the clip is central to your project, test the same image and prompt with more than one model, as in our Kling 4 vs Kling 3 video comparison.
Image to video is different from reference-to-video. With image to video, the starting image strongly guides the initial frame and composition. Reference-guided generation may use an image mainly as a style, character, or visual reference while generating a more independent scene.
Make a video with pictures by building a deliberate photo sequence
To combine multiple photos into a video, place them in story order, assign each image enough screen time to be understood, and use transitions only where they clarify a change. This approach is the most dependable way to make a video with pictures for birthdays, travel recaps, portfolios, product stories, and family slideshows.
A photo video maker online is helpful because it keeps the workflow simple: upload photos, arrange them, set durations, add sound, and export. The important creative work happens before effects are added.
Arrange photos around a beginning, middle, and ending
A strong picture video has a progression. Do not simply sort images by date unless chronology is the story. Instead, choose images that establish context, develop an idea, and leave the viewer with a memorable final frame.
For a 30-second slideshow video, try this structure:
| Segment | Suggested duration | Purpose |
|---|---|---|
| Opening image | 2–3 seconds | Establish the place, person, product, or occasion |
| Core sequence | 18–22 seconds | Show the most meaningful images in a logical order |
| Detail or contrast shot | 3–4 seconds | Change scale, mood, or perspective |
| Closing frame | 3–5 seconds | Deliver a final message, callout, or memorable image |

Use fewer photos than you initially think you need. A 20-image sequence shown for one second each can feel rushed. For a reflective photo to video project, three to five seconds per image often gives viewers enough time to absorb the scene.
Use a video timeline instead of random effects
A video editor lets you control timing rather than leaving it to an automatic montage. Put images on the video timeline, trim the duration of each visual, and review the full sequence before adding effects.
A simple drag and drop workflow is enough for many projects:
- Upload your photos in their original quality.
- Put the strongest image first, not necessarily the first image you took.
- Set a consistent initial duration, such as three seconds per photo.
- Shorten repetitive images and extend important ones.
- Add a transition only when the scene change benefits from it.
- Preview the full online video without sound, then with sound.
A cut is often more effective than an elaborate transition. Use crossfades for emotional continuity, quick cuts for energy, and a fade to black to signal an ending. Avoid using a different transition between every photo; it distracts from the images and makes the piece feel like a generic template.
A photo video becomes clearer with music, text, and controlled transitions
To add music, text, and transitions to a photo video, first finish the photo order, then align the audio and captions to the finished visual rhythm. Music should establish pace, while text should provide only the information the images cannot communicate alone.
This is how you make a video with pictures and music without making it feel cluttered: let the photographs carry the story, and treat audio and typography as supporting layers.
Match the music track to the pace of the images
Choose background music that matches the purpose of the project. Fast, percussive tracks suit quick product montages and promotional clips. Softer instrumentals work better for memories, travel, weddings, and reflective stories.
If you use a music library, review the usage terms before publishing. Royalty-free does not always mean unrestricted; it can still have attribution, platform, or commercial-use conditions. Royalty-free music from a reputable library is usually safer than pulling a popular song from another creator’s post.
When you add music, lower the volume if your video includes narration or spoken audio. For a video with music only, use the beat to guide image changes, but do not force every cut onto a beat. A sequence needs visual breathing room.
Add text that can be read on a phone
To add text effectively, keep each message short: a date, location, product benefit, chapter label, or one-sentence takeaway. Use one font family and no more than two weights or styles in a single project.
For mobile viewing, test captions on a small screen. Keep text away from the top and bottom edges, where platform controls and captions may cover it. Use high contrast, a subtle shadow, or a semi-transparent background when photos are visually busy.
A video template can save setup time for recurring content, but change its colors, font choices, timing, and placeholders so it supports your own visual identity. A template should speed up production, not determine the story.
AI models work best when you direct movement instead of surrendering control
AI can animate a single image, but the best AI models still need specific instructions and realistic expectations. Use AI for motion that would be difficult to capture, then use ordinary editing for sequencing, titles, audio, and final pacing.
This division of work matters. Generative clips excel at creating a few seconds of movement from a still; a standard photo video workflow excels at combining photos, video clips, captions, and sound into a coherent finished piece.
Write prompts that protect the intended style
If you want an animated photo to remain close to its original style, describe what must stay stable. Mention the subject’s identity, camera angle, composition, lighting, wardrobe, product shape, or background.
Use this prompt pattern:
Subject + intended motion + camera movement + visual style + stability constraints
For example:
“A close-up of a red sneaker on a white pedestal, slow orbiting camera move, clean studio lighting, premium commercial style, preserve the exact shoe design and logo placement.”
Generate short clips first. Review hands, faces, lettering, reflective surfaces, and object geometry before extending the clip or combining it with other footage. If the result drifts, simplify the motion request rather than adding more instructions.
Understand what ChatGPT can and cannot do for image-based video
ChatGPT can help create video from images when it is connected to an image or video-generation workflow, but it is not automatically a complete photo video maker or export editor on its own. It can help write prompts, plan a shot list, generate captions, and assist with creative direction.
For actual generation, you need a tool that supports image-to-video creation. For a complete result, you may also need an online editor to arrange clips, photos, audio, and text. PixExact is designed for the generation side of this workflow, letting creators work with multiple AI models for image and video creation.
Using AI does not remove the need for editorial judgment. Review every generated clip before publishing, particularly if it includes a recognizable person, branded product, or readable copy.
Export settings determine whether your photo to video project travels well
You can export or share a video made from photos once you have selected the correct aspect ratio, resolution, and file format for its destination. MP4 is the practical default for most platforms because it is widely supported and balances quality with manageable file sizes.
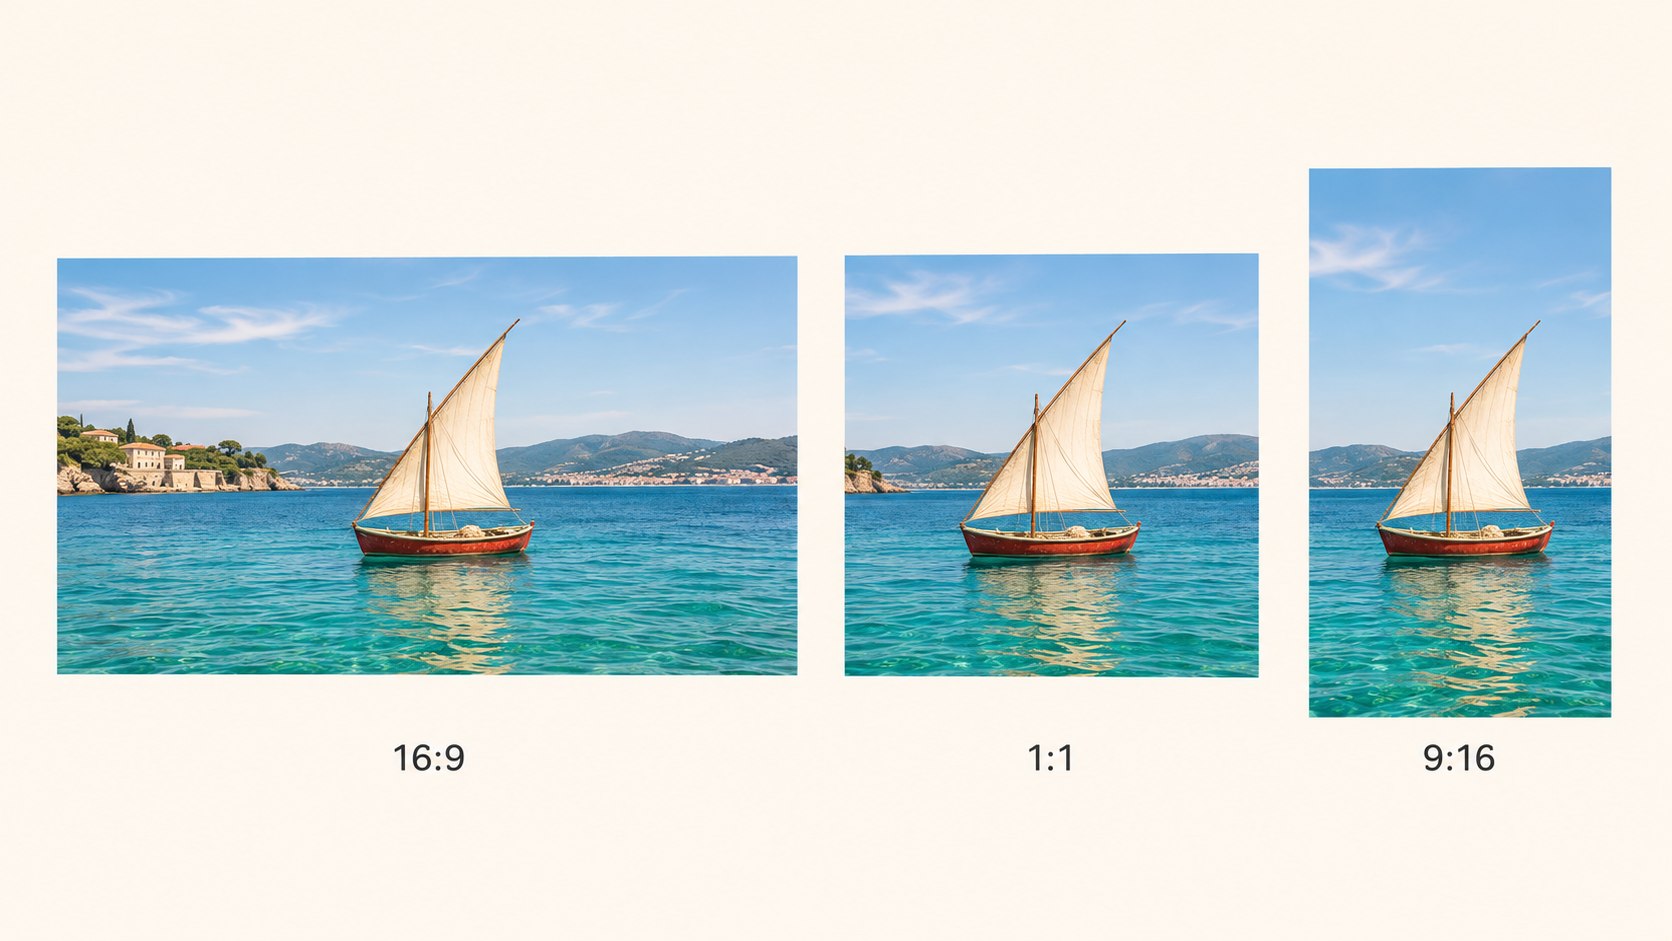
Choose the canvas before you start editing whenever possible. Reframing at the end may crop faces, product details, or text.
| Destination | Recommended aspect ratio | Practical approach |
|---|---|---|
| TikTok, Reels, Shorts | 9:16 | Keep subjects centered and captions away from lower controls |
| YouTube standard video | 16:9 | Use wider images and room for titles |
| Instagram feed | 4:5 or 1:1 | Crop tightly and prioritize the central subject |
| Website or presentation | 16:9 | Use readable text and moderate motion |
Before you export, watch the video once with sound and once muted. Check for misspellings, abrupt audio cuts, inconsistent image color, and text that appears too briefly.
Then download your video and view it on the device where most viewers will watch it. This final step catches issues that are easy to miss in an online editor: captions may be too small, dark images may lose detail, and music may overpower narration.
A free video tool can be enough for a simple slideshow video, but confirm its export resolution, watermark policy, storage limits, and permitted commercial use. “Free” may mean limited exports, lower resolution, or a restricted stock library.
Frequently asked questions clarify the best way to create videos from photos
A free photo video maker is best when it gives you the controls your project actually needs: photo ordering, duration changes, text, audio, usable export settings, and clear rights for any included assets. The best app is not necessarily the one with the most effects.
Multiple photos become one video through sequencing
To create videos from photos, upload your images, place them in a chosen order, adjust the length of each image, and export the assembled timeline as one file. Combining photos works on a phone or desktop; the key difference is screen space and precision.
On a phone, use vertical images and simple edits when the video is for TikTok or Instagram. On desktop, you have more room to refine timing, crop images, manage audio, and compare multiple versions. Upload your own photos at their best available quality, then make your video in the target format from the start.
One image can become an animated video with AI
Yes, you can turn a single image into an animated video with AI by uploading the image and prompting for controlled subject or camera motion. Keep the first generation short and focused, especially when preserving faces, text, or product details matters.
For a simple photo into a video sequence, you can also apply a manual zoom or pan. AI animation is most valuable when you want motion inside the picture, such as moving hair, smoke, water, lights, or a camera orbit.
Music, captions, and sharing need separate checks
You can add music, captions, and transitions after the image sequence is stable, then export the completed project in the format required by your platform. Use licensed stock music or your own audio, and make captions readable without sound.
When making short videos from existing photos and clips, create a separate version for each social channel. Videos for any platform should be framed, captioned, and paced for where they will actually appear. A polished 16:9 online video may need significant adjustment before it works as a vertical short-form post.
Create a better photo video by combining generation with editorial choices
The most effective way to turn your photos into videos is to choose the right treatment for each image: keep meaningful photos still, animate only the frames that benefit from motion, and use editing to connect them into one story.
Start with a small sequence and a clear destination rather than trying to make videos from every image at once. When you are ready to experiment with AI-generated motion, explore PixExact’s image and video tools, compare outputs across available AI models, and bring the strongest clips into your final edit.